Assembling the T9 Macropad
A few things before you get started:
- Confirm that you're using the Adafruit QT Py RP2040 development board.
- These instructions assume you have some soldering ability. This project is not too bad! But you might not want this to be the first thing you've ever soldered.
- This dev board has castellated pads, and will be soldered on to the surface of my PCB. If you've never done this kind of soldering, This tutorial is awesome.
Step 1: Attach your dev board

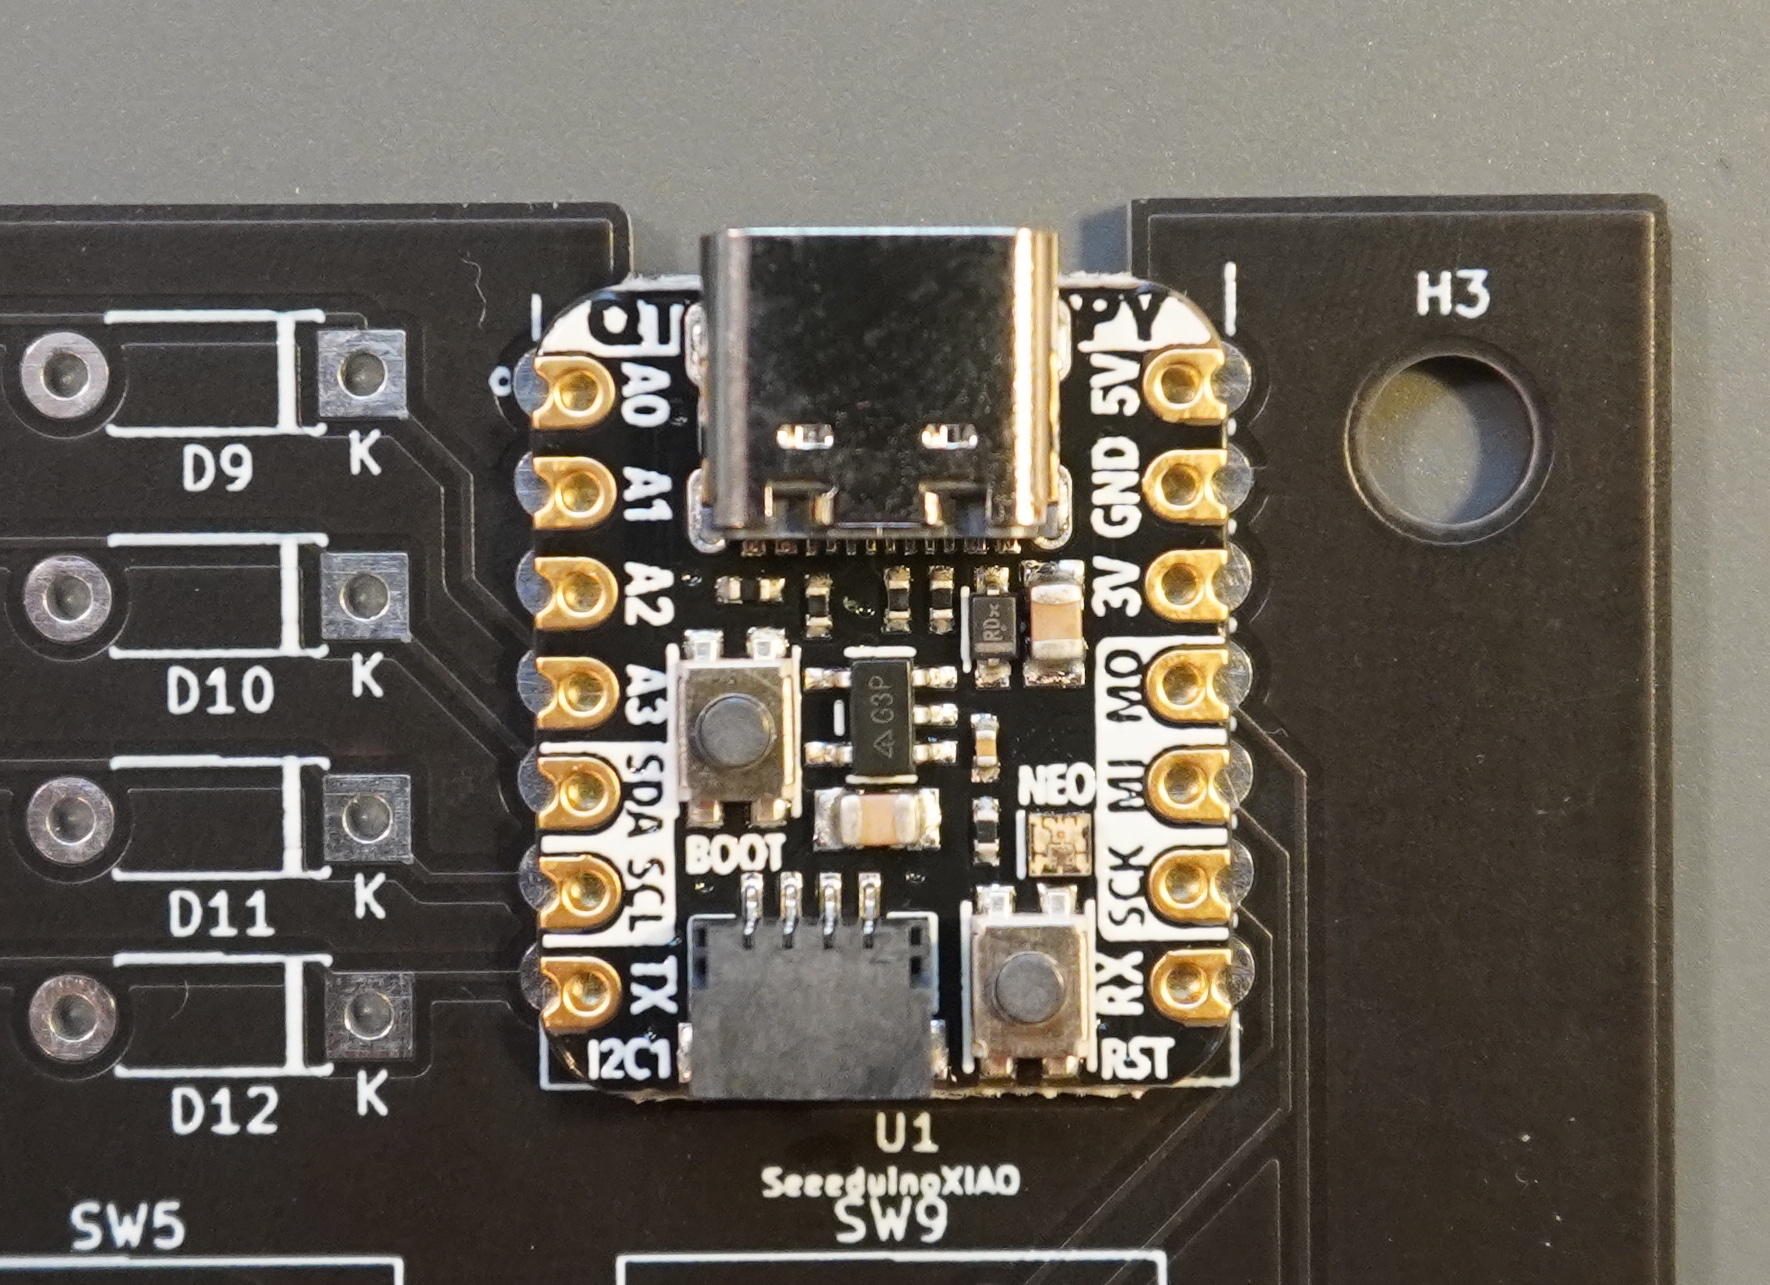
Solder the castellated pins of your dev board on to the pads on the Macropad as shown.
The two pins closest to the USB jack on your dev board should line up with the uppermost
pads on the macropad. Solder all pins that come in contact with a pad, and note that some
dev boards may extend beyond the pads.
Step 2: Solder the diodes

Line your 12 diodes up with white silkscreen outlines on the macropad - they're labeled D1 through D12.
Each diode should have a stripe or dark marking indicating which terminal is the cathode (-).
Orient each diode such that it's cathode terminal is pushed through the hole on the right.
Push each positive terminal through the corresponding left hole, and solder all terminals to the board.
Step 3: Attach your key switches


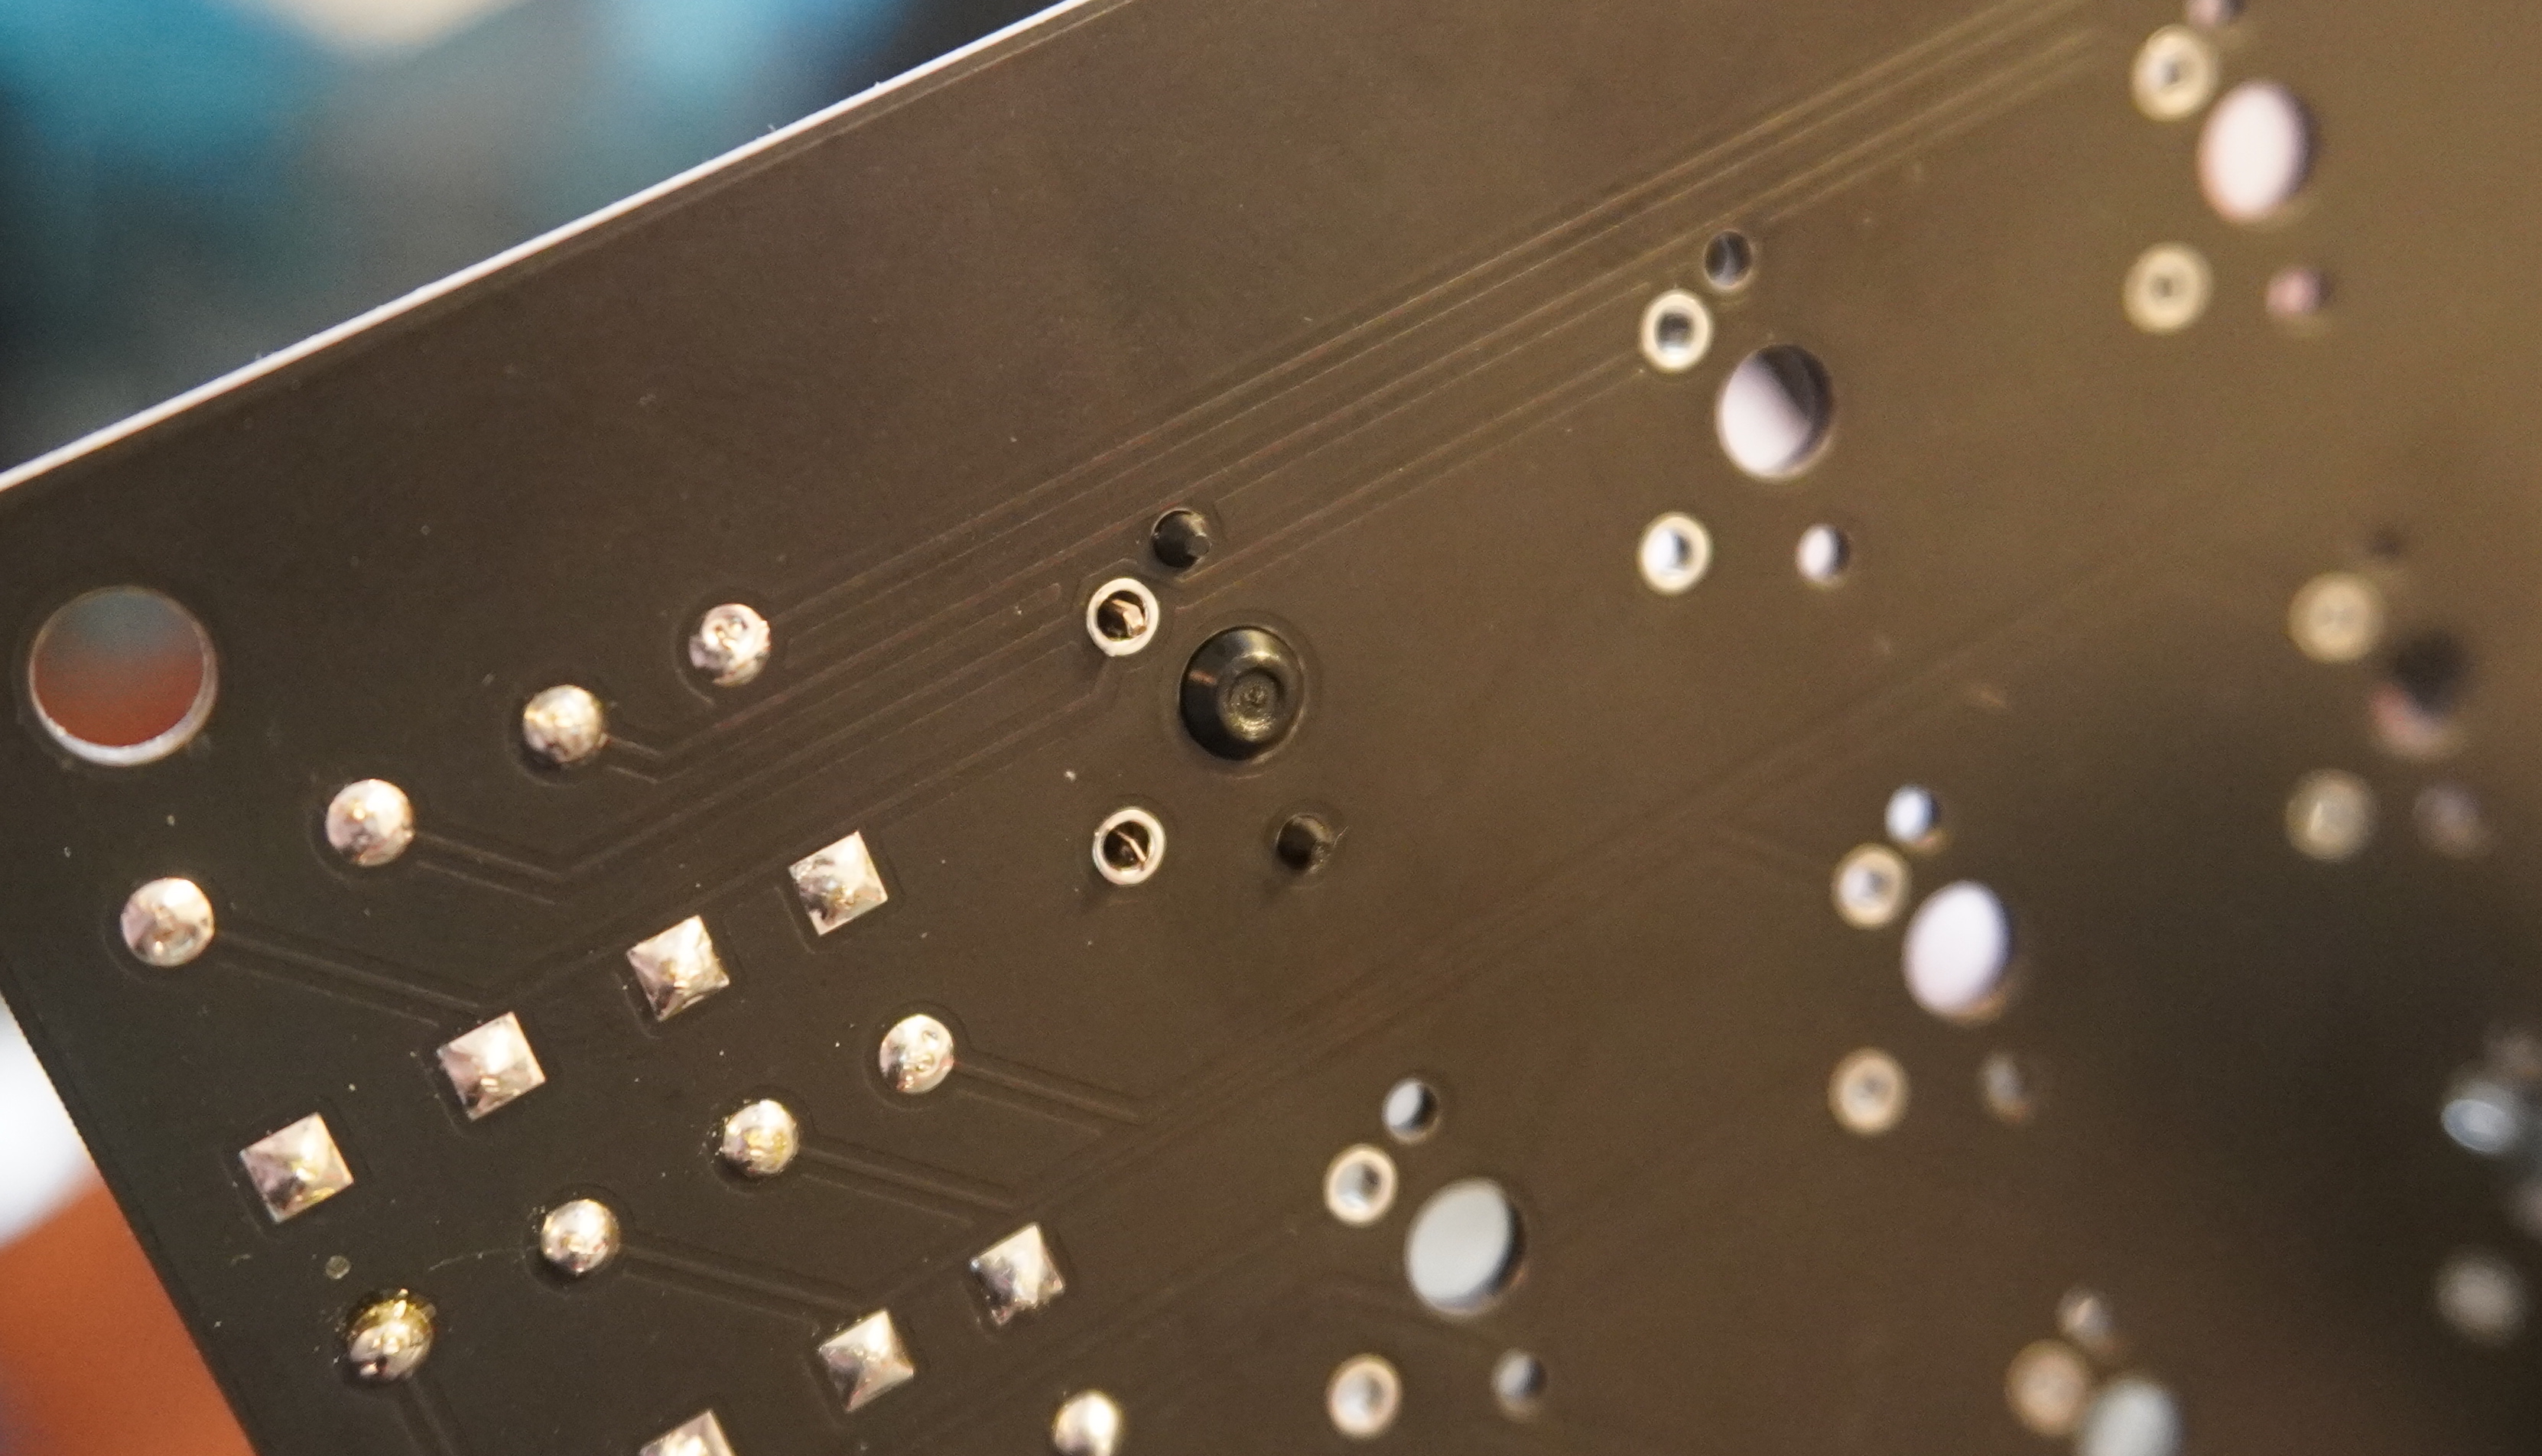
Push your key switches into each of the 12 slots, and solder the metal terminals to the macropad from the bottom.
That's it for physical assembly. Instructions for installing firmware on a fresh Adafruit QT Py RP2040 are here


